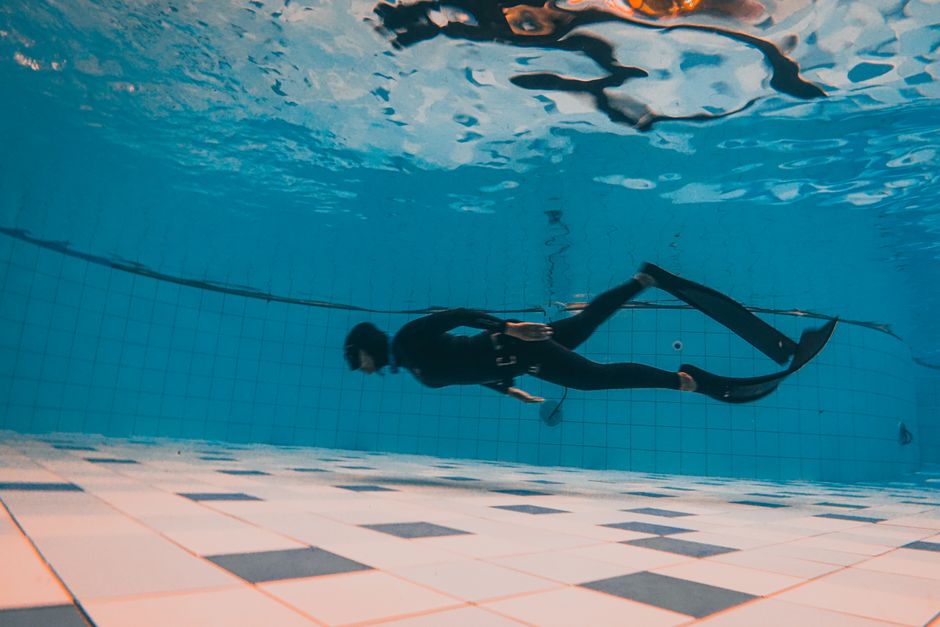
Why plan every freediving session
Planning a freediving session is not an optional extra — it shapes how safe, predictable and enjoyable the day will be. A deliberate plan gives you three core benefits: increased safety, predictable performance, and clear team roles.
When everyone agrees on a plan before the first foot hits the water, you reduce the number of on-the-spot decisions that must be made under stress. That matters because stress narrows attention and can lead to risky shortcuts: skipping a buddy-check, pushing past agreed limits, or improvising in worsening conditions. A written or verbal plan takes many of those decisions out of the moment and preserves clear, simple rules when you need them most.
Planning also makes performance more predictable. When weights, line length, warm-up and limits are pre-agreed, each diver’s objective becomes realistic and measurable. Finally, a good plan makes roles explicit. If the least-experienced person in the group knows they set the conservative limits and that the team will accept those limits, the pressure to overreach drops dramatically. Shared expectations prevent the common dynamic where a more confident buddy pulls everyone toward unsafe goals.
Researching the dive site before you go
Good freediving session preparation begins long before you arrive at the water. Spend time researching the site so you know what to expect and can prepare equipment, weights and the sequence of activities.
- Consult tide tables, local weather forecasts and pilot charts to anticipate currents, wind direction and swell periods. These influence where you can safely stage and which tidal window is best for minimal flow.
- Talk to local divers, boat crews or shore staff. Local people know access routes, parking, easiest exits, seasonal hazards (jellyfish blooms, fishing seasons), and the best places to rig a buoy or shelter from wind.
- Check depth maps and bathymetry. Knowing maximum and typical depths helps you choose line length, bottom weight and objectives for the session.
- Note seabed type and typical visibility. Sand, rock and reef have very different entanglement and exit considerations; visibility affects spotting and line management.
Combine these sources — charts, local knowledge and maps — to produce a practical, site-specific plan. The more you understand the site before you arrive, the fewer surprises you’ll face once you’re committed to a dive.
Key site characteristics to note
When you arrive, identify the site characteristics that most directly affect safety and logistics. These are the physical and hydrodynamic features you’ll use to make on-the-spot decisions.
- Entry and exit points: Identify primary and at least one alternative exit. Note how steep or slippery the shore is, whether a ladder or rocks are involved, and how accessible the exit is if someone needs assistance.
- Staging area: Find a sheltered, flat spot for gearing up, briefing and storing the safety kit. Make sure it’s clear to everyone and, if possible, visible from the water.
- Distance from shore and exit alternatives: If you’re diving from shore, note how far you’ll need to swim to the buoy/line and whether the tide can strand you. From a boat, identify layback positions and safe pickup coordinates.
- Hydrodynamic factors: Note current direction and strength, tidal flow windows, surge and surface chop. Small shifts in these can change how easy it is to descend, how much energy you’ll spend, and whether an exit is viable.
- Underwater features: Confirm maximum depth, bottom composition (sand/rock/coral), ledges or overhangs, and any obvious entanglement risks such as fishing line, kelp or nets. Also be mindful of common marine life that could affect safety or comfort.
Sequence and roles: who does what, when
Agreeing a simple, repeatable sequence and assigning roles before entering the water keeps the session orderly and quick to respond if something goes wrong. A clear sequence reduces ambiguity and avoids people talking over one another in an emergency.
A practical sequence might be:
- Equipment checks and staging (footwear, exposure suit, weights)
- Buddy check and plan review
- Warm-up dives/warm-up breath-holds
- Main set (timed or count of dives as agreed)
- Recovery and debrief
Assign at least these repeatable duties every session:
- Line tender: Manages the descent line and gives the diver a smooth, predictable surface connection.
- Surface spotter: Watches the diver from the surface for signs of trouble and manages surface traffic and safety marker positioning.
- First responder: Responsible for immediate in-water assistance—bringing the diver to the surface, initiating rescue breathing and coordinating handover to medical help if needed.
Plan the dive order and set conservative limits based on the least-experienced diver. For example, if the least-experienced person is comfortable to 10 m, structure the session so everyone’s initial dives stay within that depth and gradually increase only with consensus. Use simple, decisive contingency rules such as “if the current exceeds X on our scale, we stop” or “if visibility drops below Y, we abort.” Repeating the same roles and sequence each session builds muscle memory and reduces error.
Breathe-up, warm-up and recovery routines
Breathwork and warm-up are central to freediving session preparation. They change your physiology in predictable ways, help trigger the mammalian dive reflex gradually, and reduce the chance of an unpleasant or dangerous event.
For the breathe-up, use relaxed diaphragm or belly breathing. Aim for roughly 1–2 minutes of easy, rhythmic breaths where exhalations are longer than inhalations. Keep the shoulders relaxed and let the abdomen rise on the inhale. After this relaxed period take one full final breath; two only if the first was incomplete. Avoid hyperventilating — long, slow belly breaths are what you want, not fast or forced breathing.
Warm up with short, progressive breath-holds. Start with conservative, easy holds at the surface or shallow float, then add a couple of slightly longer holds as you feel comfortable. These warm-ups both prepare the mammalian dive reflex and let you calibrate how you feel that day. Don’t skip them, and never use the main set as your warm-up.
After each dive perform recovery breathing while floating or being supported at the surface. A practical recovery sequence:
- Allow a passive exhale (don’t force the air out).
- Take a quick, full inhalation.
- Hold that breath for three seconds with the throat gently closed.
- Repeat at least three cycles, staying relaxed and supported.
Make recovery breathing automatic — every diver, every time. If you or a buddy feel disoriented, pale, or unusually weak after surfacing, treat it as a potential problem and follow your emergency procedures.
Equipment checklist and pre-dive inspections
A reliable, simple checklist keeps you from overlooking the small things that cause the biggest problems. Walk through it together before you enter the water.
Essentials to verify:
- Well-fitting mask and snorkel: check seal, skirt integrity and that the snorkel mouthpiece feels comfortable.
- Fins that fit and are clipped/tied if you use straps, and that you can remove them one-handed if needed.
- Properly trimmed weight: ensure weights are secure but easily releasable. Test the quick-release once on land.
- Comfortable exposure protection appropriate to water temperature.
- Surface float/line and line deployment configured for the session’s depth.
Safety kit to have on hand and visible at the staging area:
- Surface marker buoy and whistle.
- Knife or line cutter for entanglement.
- Throw line or tether if you work from shore.
- A radio or phone in a waterproof case and a clear plan for accessing AED/first aid.
Buddy check flow should be quick and standardized: seals and straps secure, snorkel clear, weights locked, and float/line deployed and confirmed. Use a short call-and-response format so everyone hears and confirms readiness (for example, “Masks, fins, weights — checked” and an audible confirmation).
Anticipate hazards and build emergency responses
Identify the likely hazards before you dive and agree how you will respond. Make the responses simple, assigned and rehearsed.
Common problems and practical responses:
- Blackout or loss of motor control: Immediate surface recovery, support the airway, begin rescue breaths if the diver is not breathing and hand over to the first responder for evacuation to shore or boat. The surface spotter should mark the location and clear traffic.
- Entanglement: The diver should signal if possible; the line tender or first responder must approach calmly and use a cutter. If the diver is unconscious, bring them to the surface on the shortest route and begin rescue breathing. Carry at least one dedicated cutter for every team.
- Strong current: Pre-agree a rule to abandon dives if current exceeds your capability; use a surface anchor or move to a safer tidal window. If a diver is swept away, the spotter should track and the rescue team should use a boat or swim line to recover rather than multiple people entering the current themselves.
- Boat traffic: Use a high-visibility surface marker and whistle. If traffic approaches, the surface spotter must make eye contact with the vessel or raise a radio. If a collision occurs, secure the diver and call emergency services immediately.
Decide in advance who calls emergency services and who retrieves a diver; put this information on a visible sheet at the staging area along with local emergency numbers, nearest hospital, and the evacuation route. Rehearse these roles with short role-play drills so responses become automatic and calm. For general guidance on dive safety and emergency protocols, reputable sources like Divers Alert Network (DAN) provide useful recommendations.
If anyone shows persistent symptoms after a difficult event (confusion, ongoing breathing difficulty, chest pain, or neurological signs), see a doctor experienced in dive medicine without delay.
Deciding to dive: personal limits and last-minute checks
The final decision to enter the water is as important as all the preparation that came before. Perform a short shore-side checklist and give every diver permission to say “no” without explanation or pressure.
A final shore-side check should include:
- Weather and sea condition quick look: has wind, swell or visibility changed?
- Team health: is anyone ill, on medication, unusually tired, or emotionally distressed?
- Equipment: everything still functions correctly and the safety kit is ready.
- Willingness: is everyone comfortable and confident to proceed?
Encourage autonomous refusals — every diver must be free to cancel. Agree conservative abort triggers in advance (for example: wind over X knots, visibility below Y metres, current stronger than expected). If anything changes, pause and re-evaluate; small changes in tide or weather can invalidate the plan, and improvising is how incidents start.
Logging, reflection and adapting future plans
A short debrief at the end of the session pays dividends. Record objective data immediately so it remains accurate and useful for planning future sessions.
What to log:
- Conditions (wind, tide state, visibility), weights used, and number of dives completed.
- Any incidents or near-misses, even if resolved without harm.
- Personal notes on how you felt physically and mentally, and what worked in your breathe-up and warm-up.
Use the debrief to capture lessons and update your standard checklist or sequence. Sharing small adjustments — like moving the staging area or changing the order of divers — improves safety and comfort next time. Remember that structured, repeated practice builds a more reliable mammalian dive reflex and safer progression than occasional extreme attempts. If you want guidance on building a progressive routine, manifreediver.ir offers resources and training on designing sensible, incremental practice plans.
Final practical note: take the time to prepare. Freediving session preparation is not paperwork — it’s a habit that protects you and the people you dive with, and it makes the whole experience smoother and more rewarding. Plan the session, then dive the plan.